How to submit your timesheet
Updated September 17, 2026
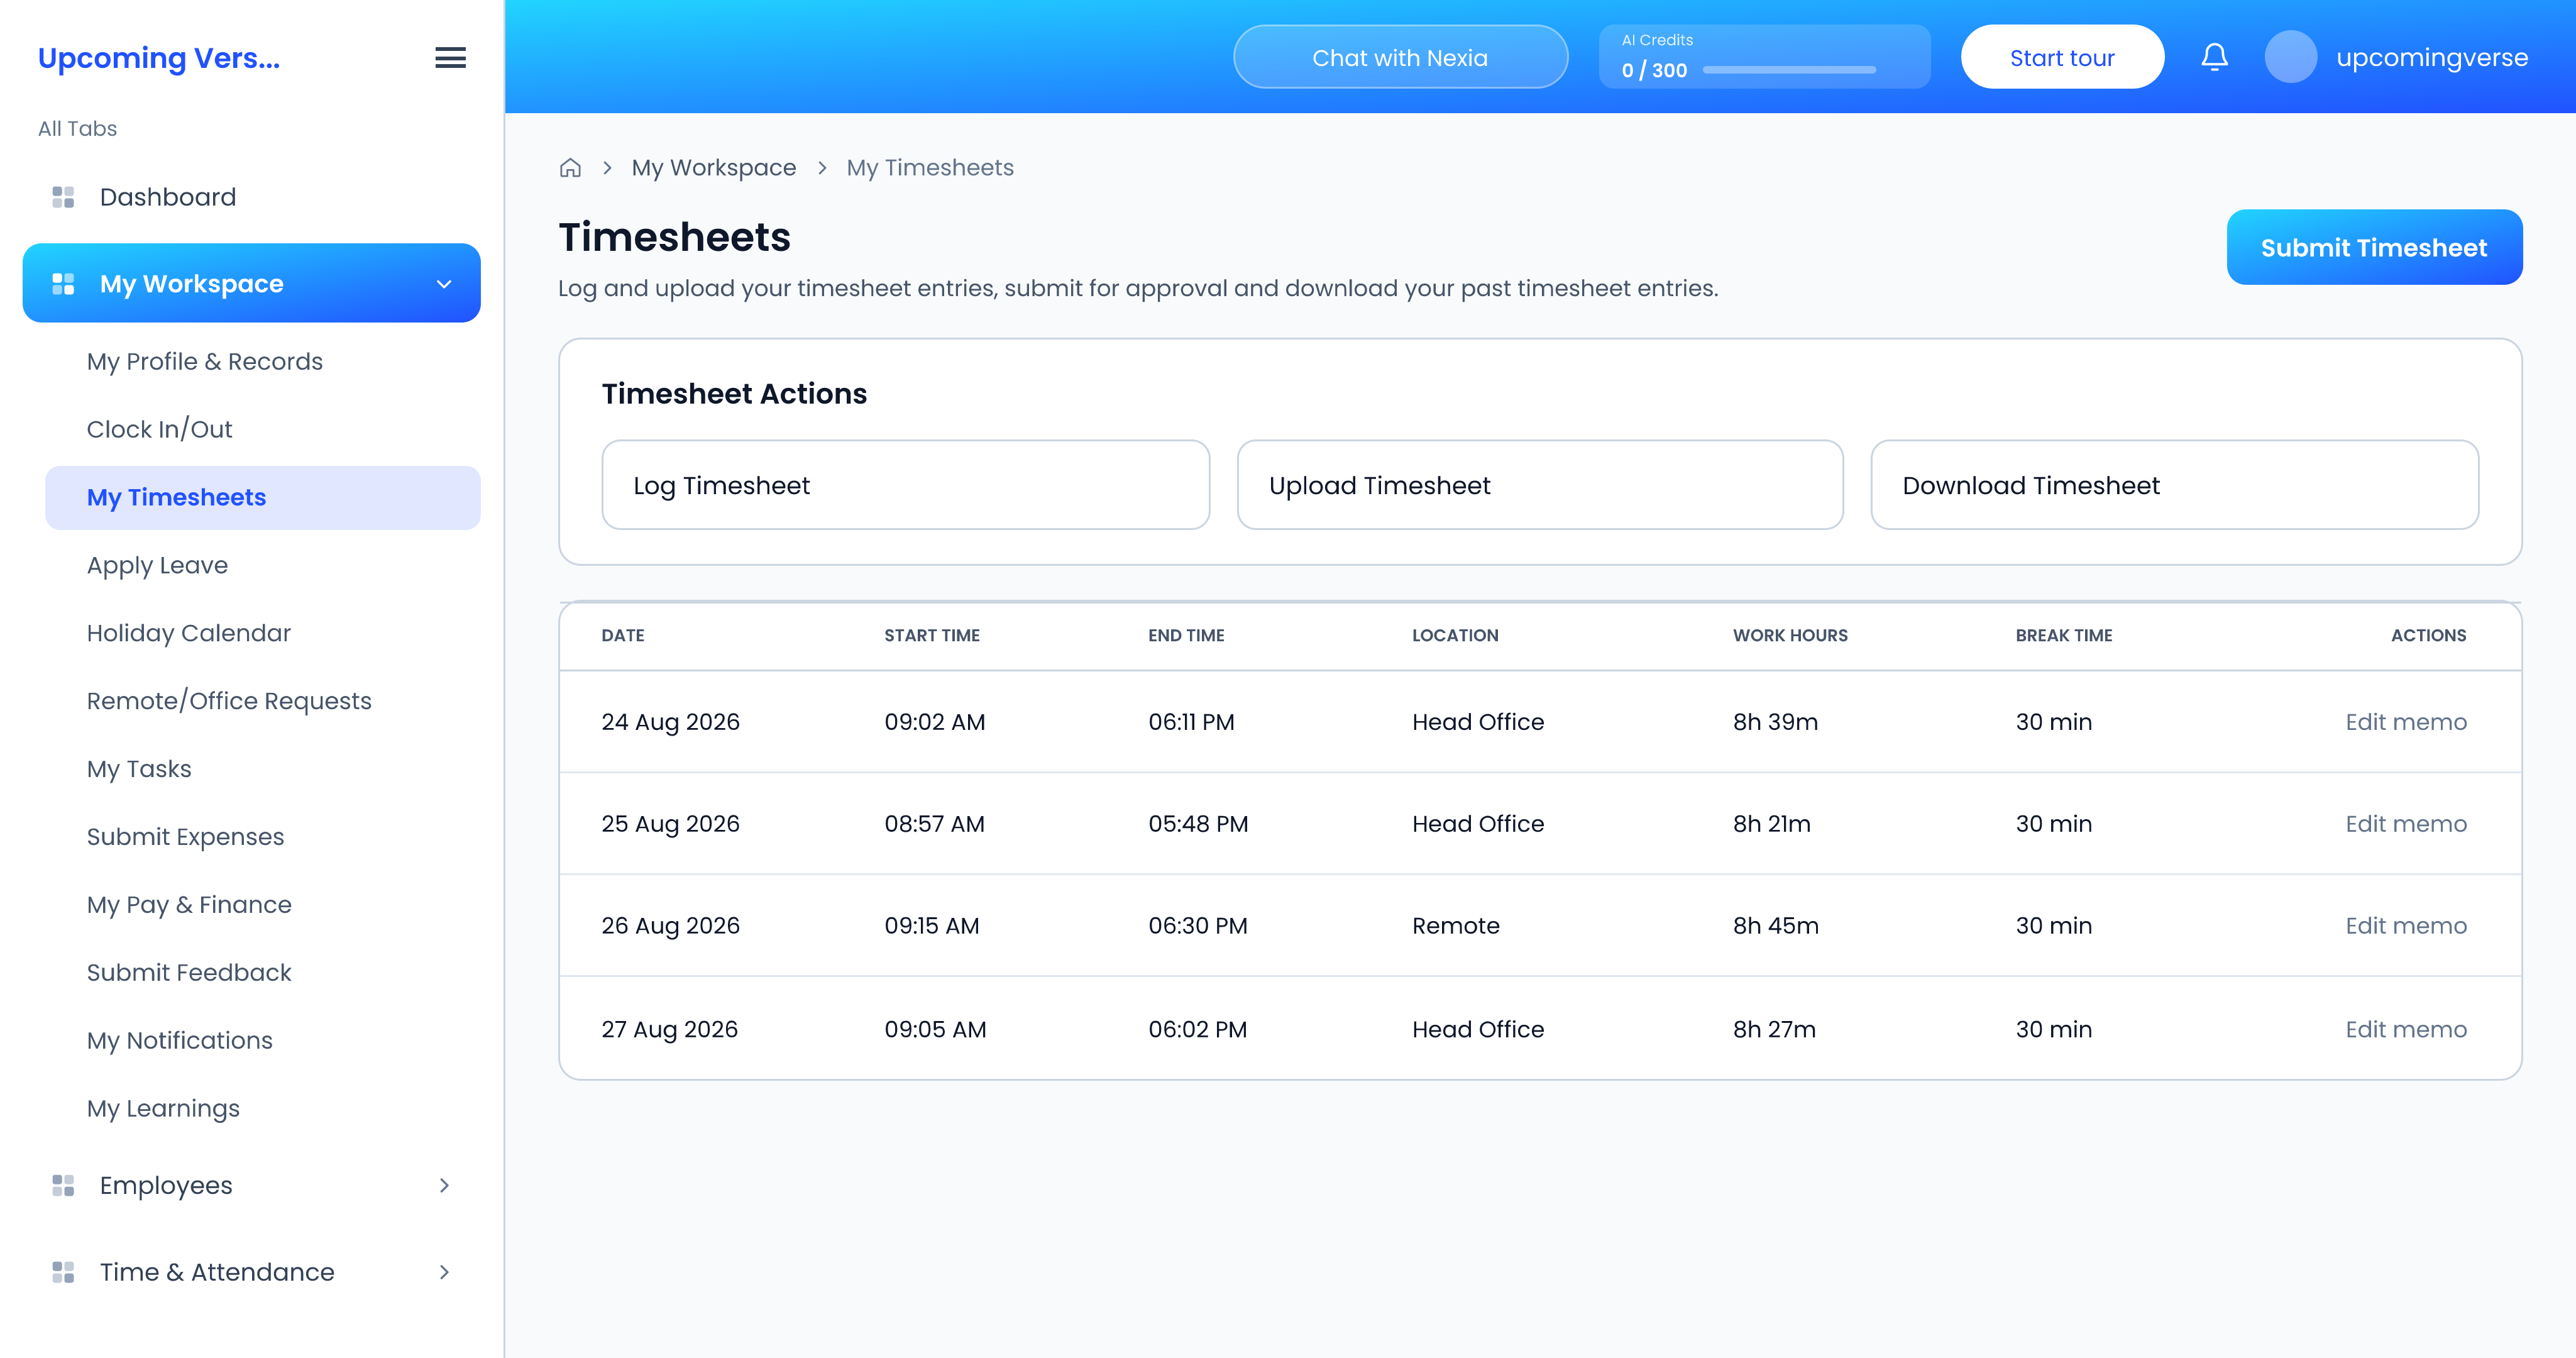
- Open My Workspace → My Timesheets.
- Check the entries in the table — date, start and end time, location, work hours and break time for each one.
- Add anything that was not captured with Log Timesheet, or bring in several entries at once with Upload Timesheet.
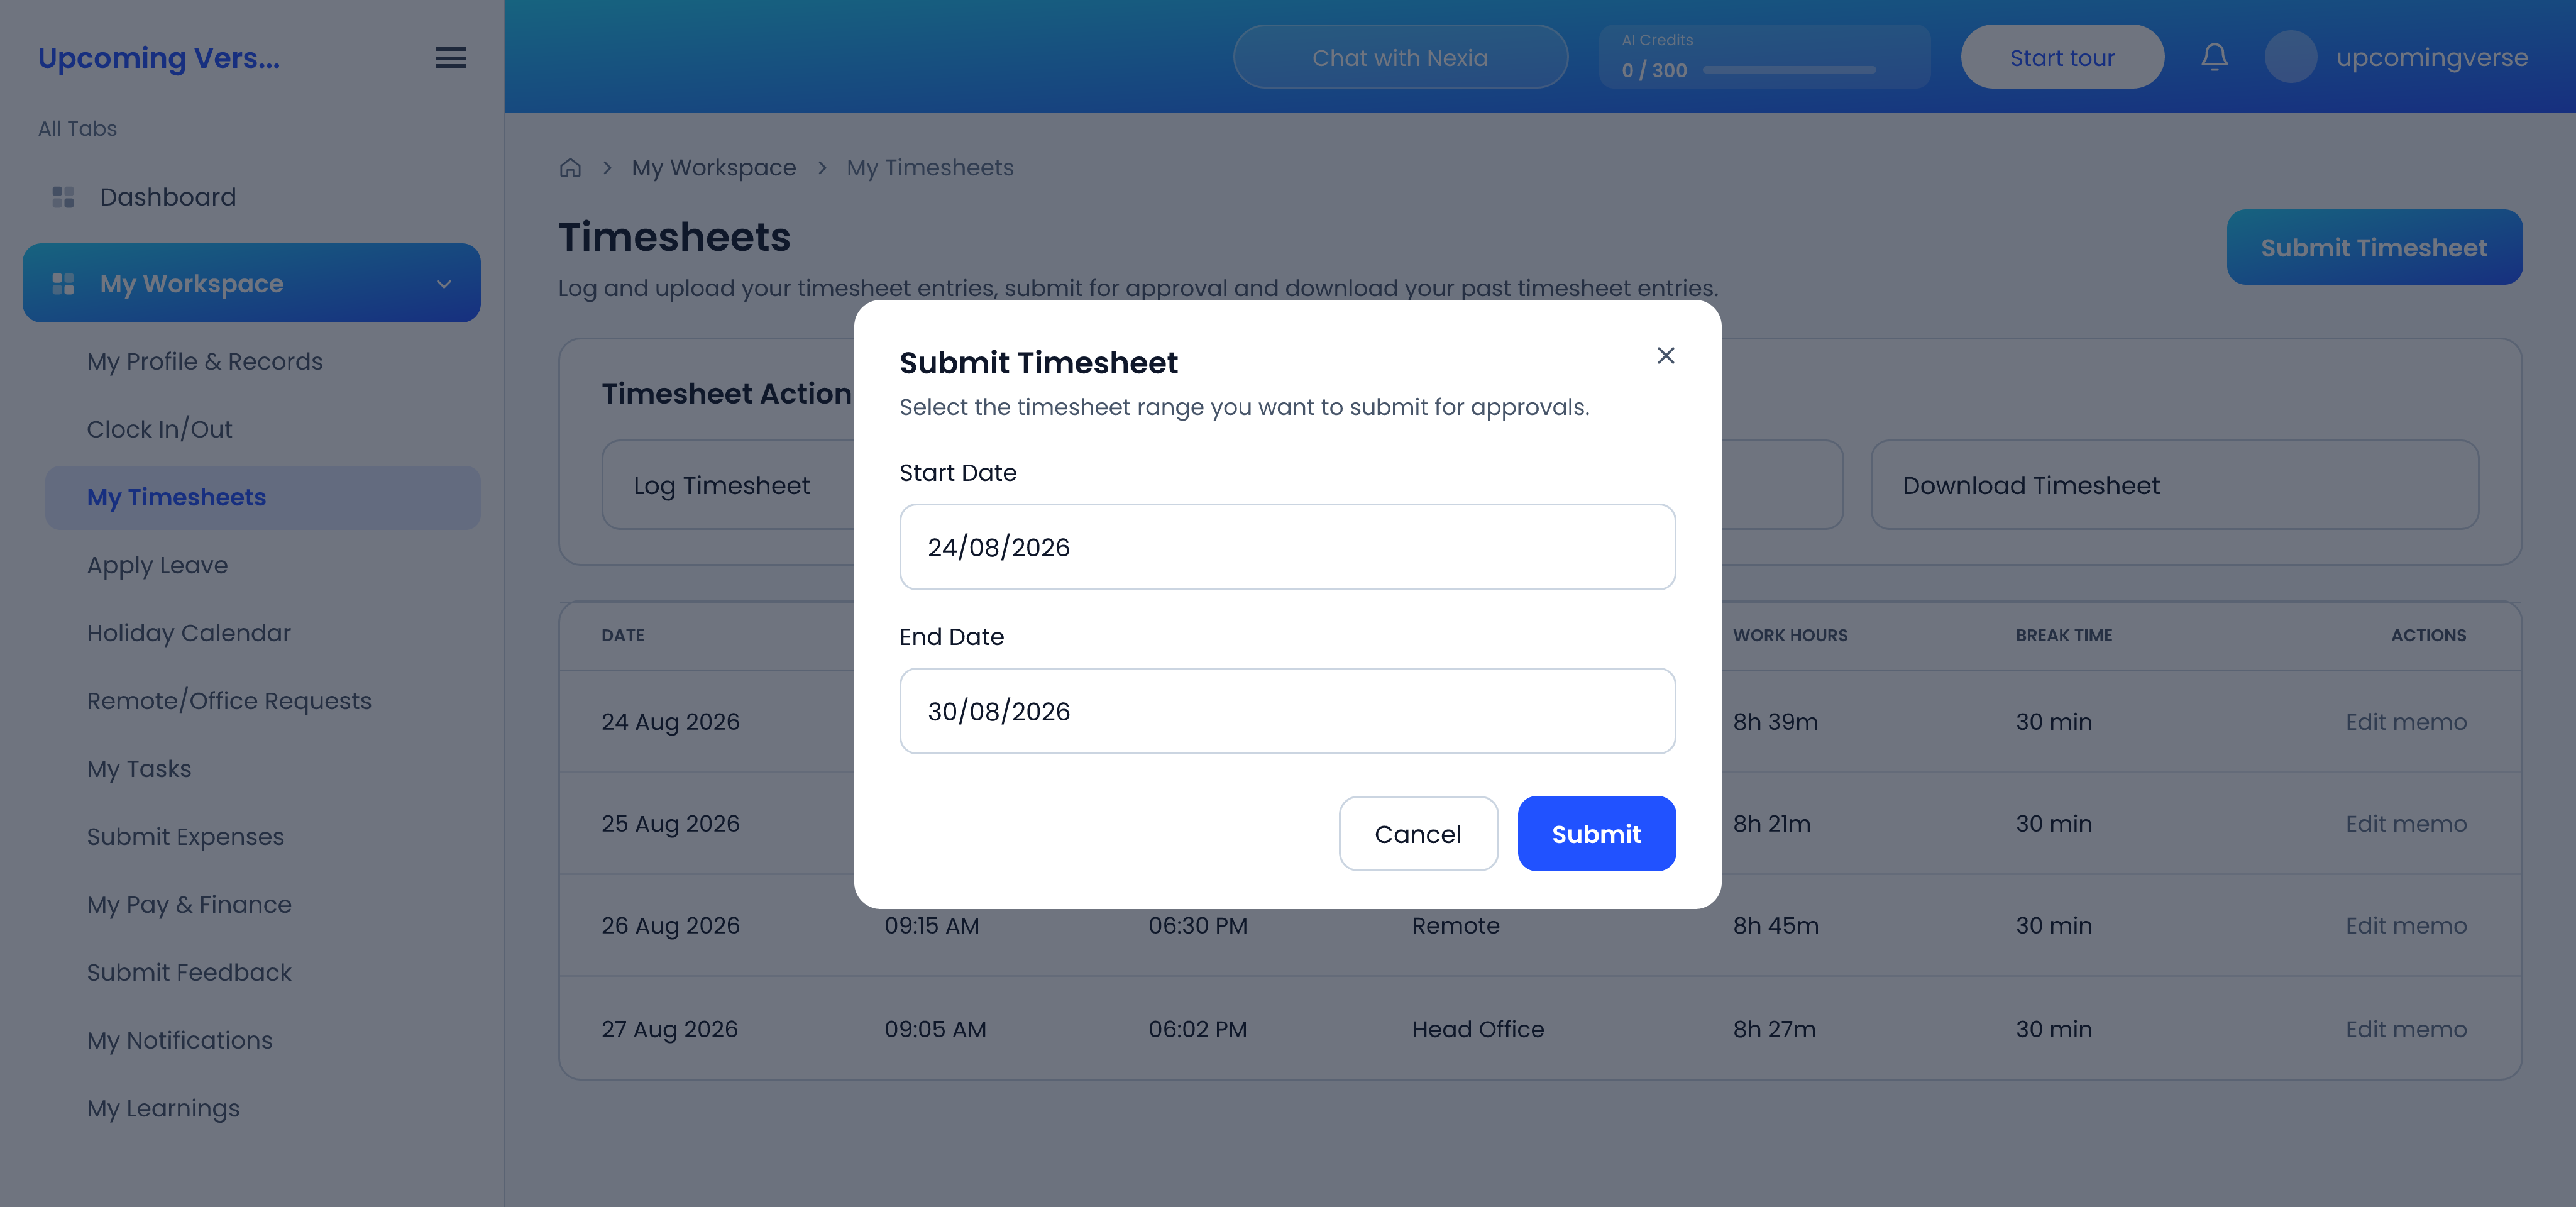
- Click Submit Timesheet.
- Choose the Start Date and End Date of the period you are submitting, then click Submit.
Check before you submit
Once submitted, that period is with your approver and you cannot change it. Anything that needs fixing afterwards has to go through them.
Add a note to an entry
Use the memo action on a row to explain an unusual day — a late start, a site visit, a long break. It saves your approver asking.
Uploading entries
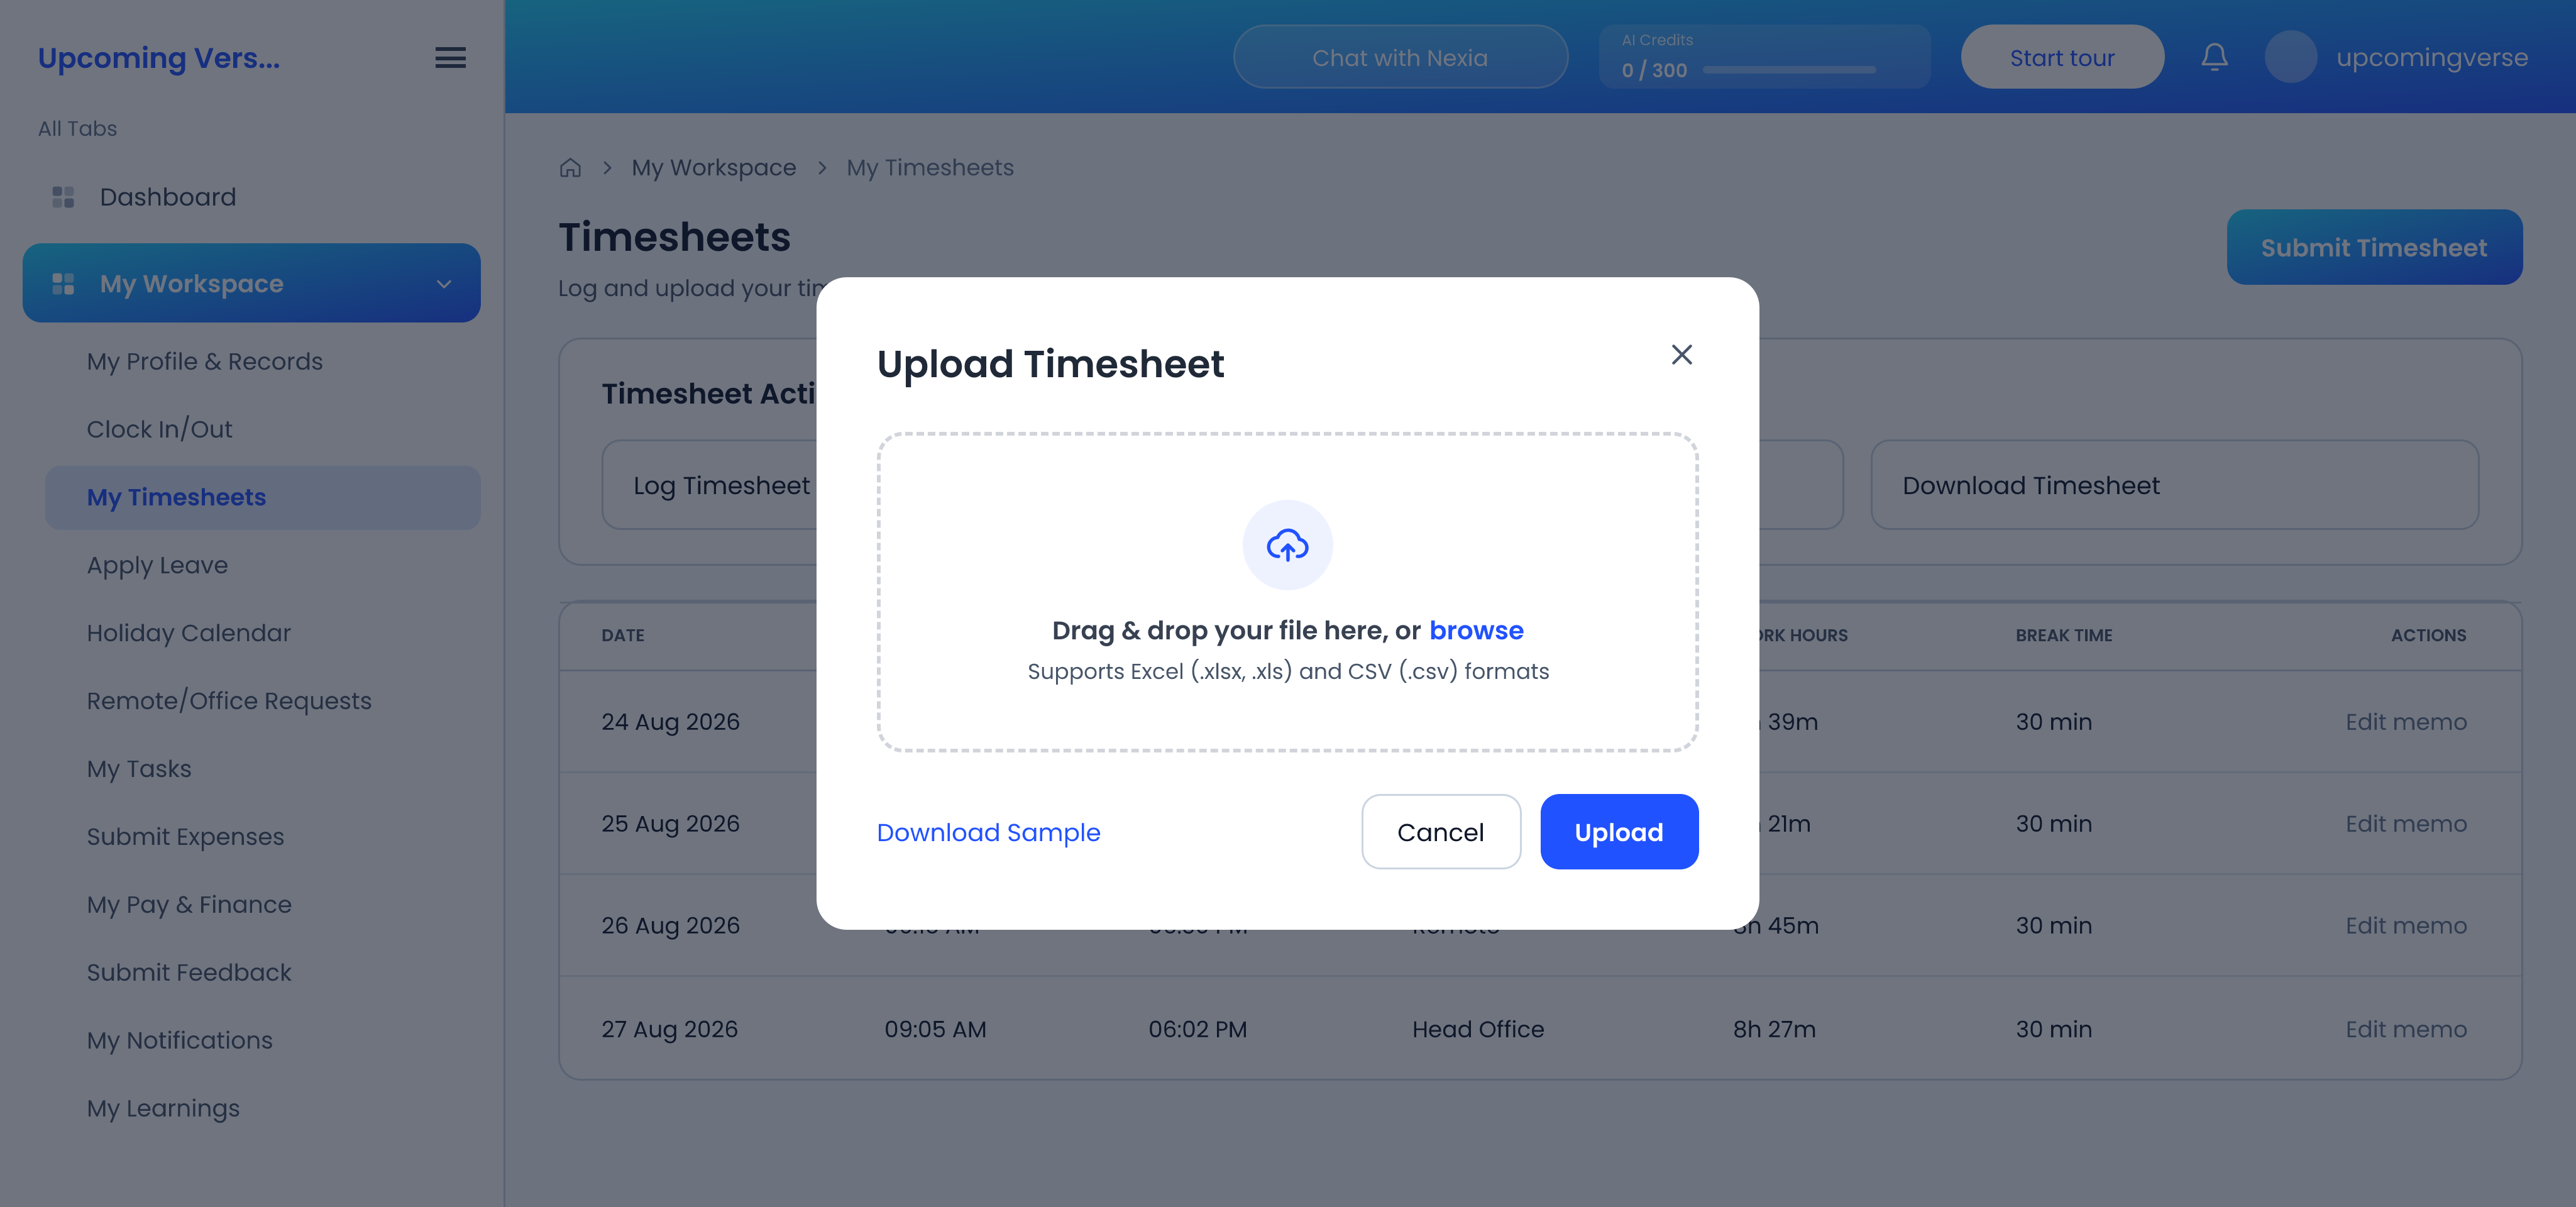
Upload Timesheet takes an Excel (.xlsx, .xls) or CSV file. Use Download Sample in the same dialog to get a file in the right layout.
Hours closed at a time you did not punch out
Your organization may use auto-clockout, which closes off the day at a set time when nobody punched out. That is a configured rule rather than a fault. If the recorded hours are wrong as a result, raise it with your approver.
A punch is missing entirely
You cannot correct your own attendance. A missed punch has to be logged manually by whoever administers attendance for your organization.
Keep a copy
Download Timesheet exports your entries for a date range you choose.